


I managed to haggle a deal on a BOE NZ1, pixel checked and with adhesives... so I jumped on it.
So without further delay... lets get into it.
First things first, ALWAYS disconnect your battery and press the power button.
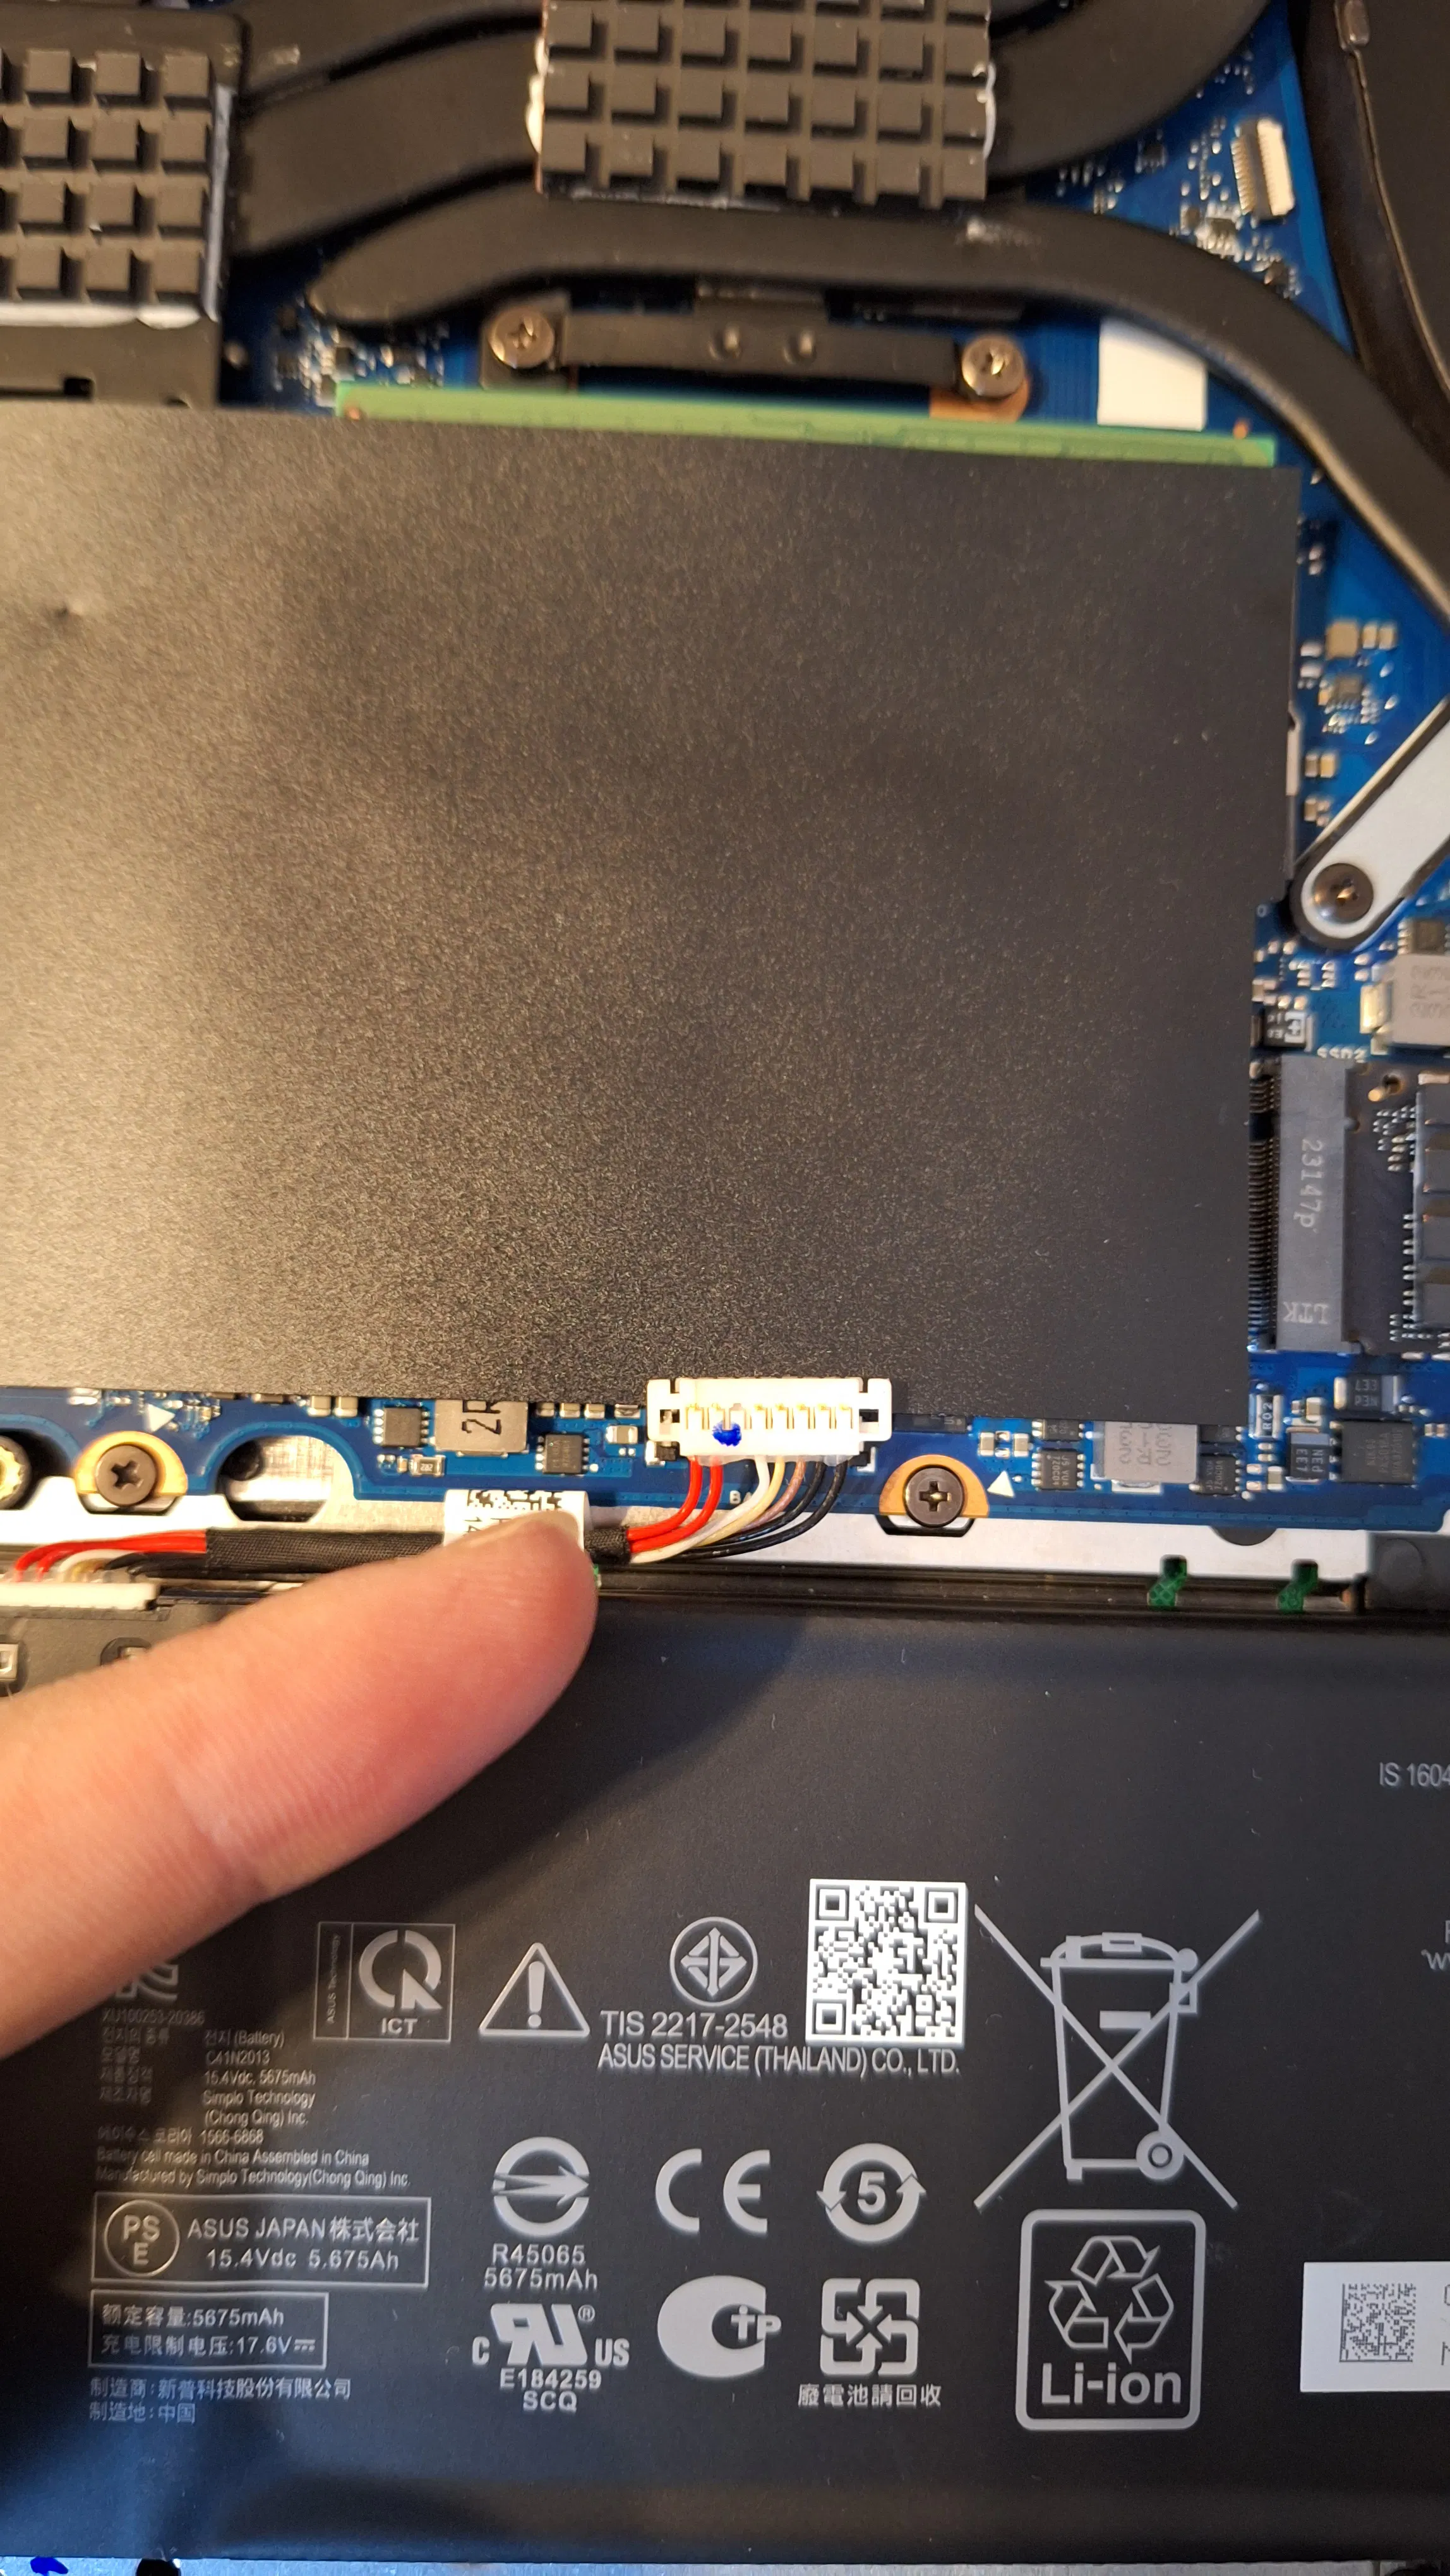
Now you can start the process. I did forget to take pictures while removing the bezel, but it is different for most laptops anyway so you wouldn't gain much knowledge. Just know that they're usually clipped and stuck in place depending on bezel size. A quick google will normally show someone removing it. A guitar pick style pry tool and a bit a care will have you on your way.
I did forget to take pics of the adhesive removal too, but you can see the new ones I dropped in, and under the bezel with the new screen. Here's the new screen and the old one on my lap
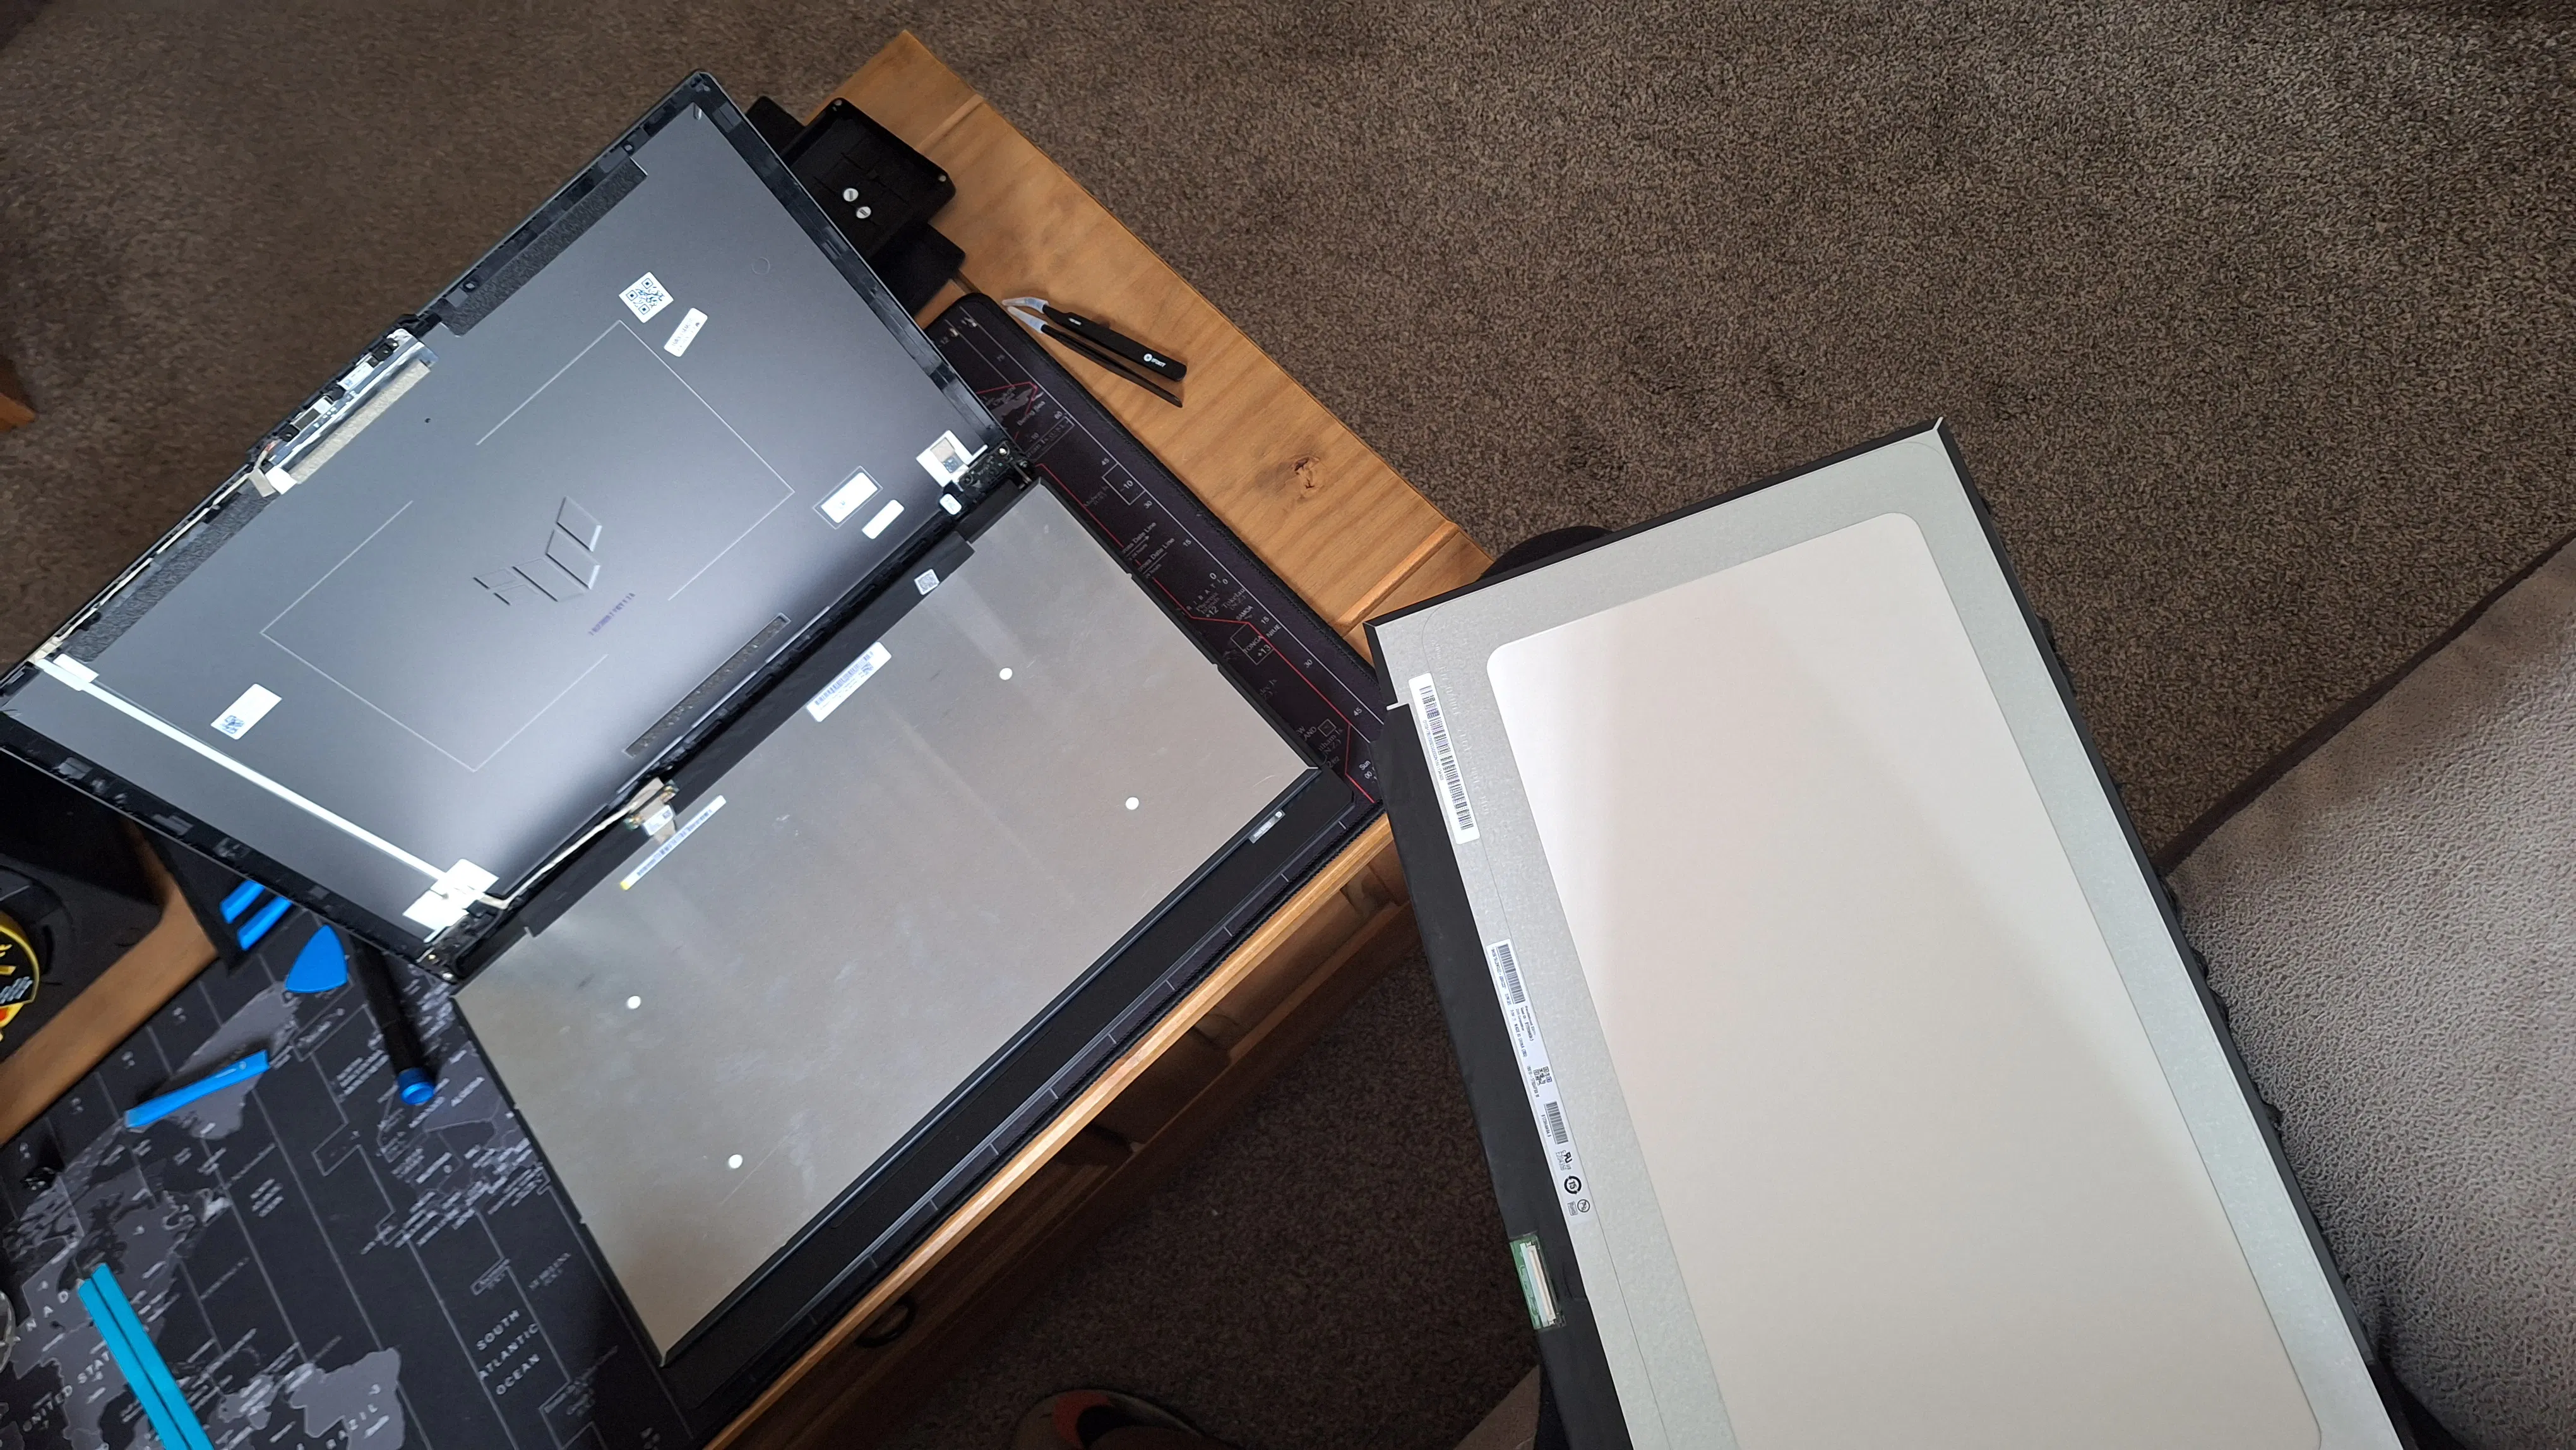
And the details of the new one here
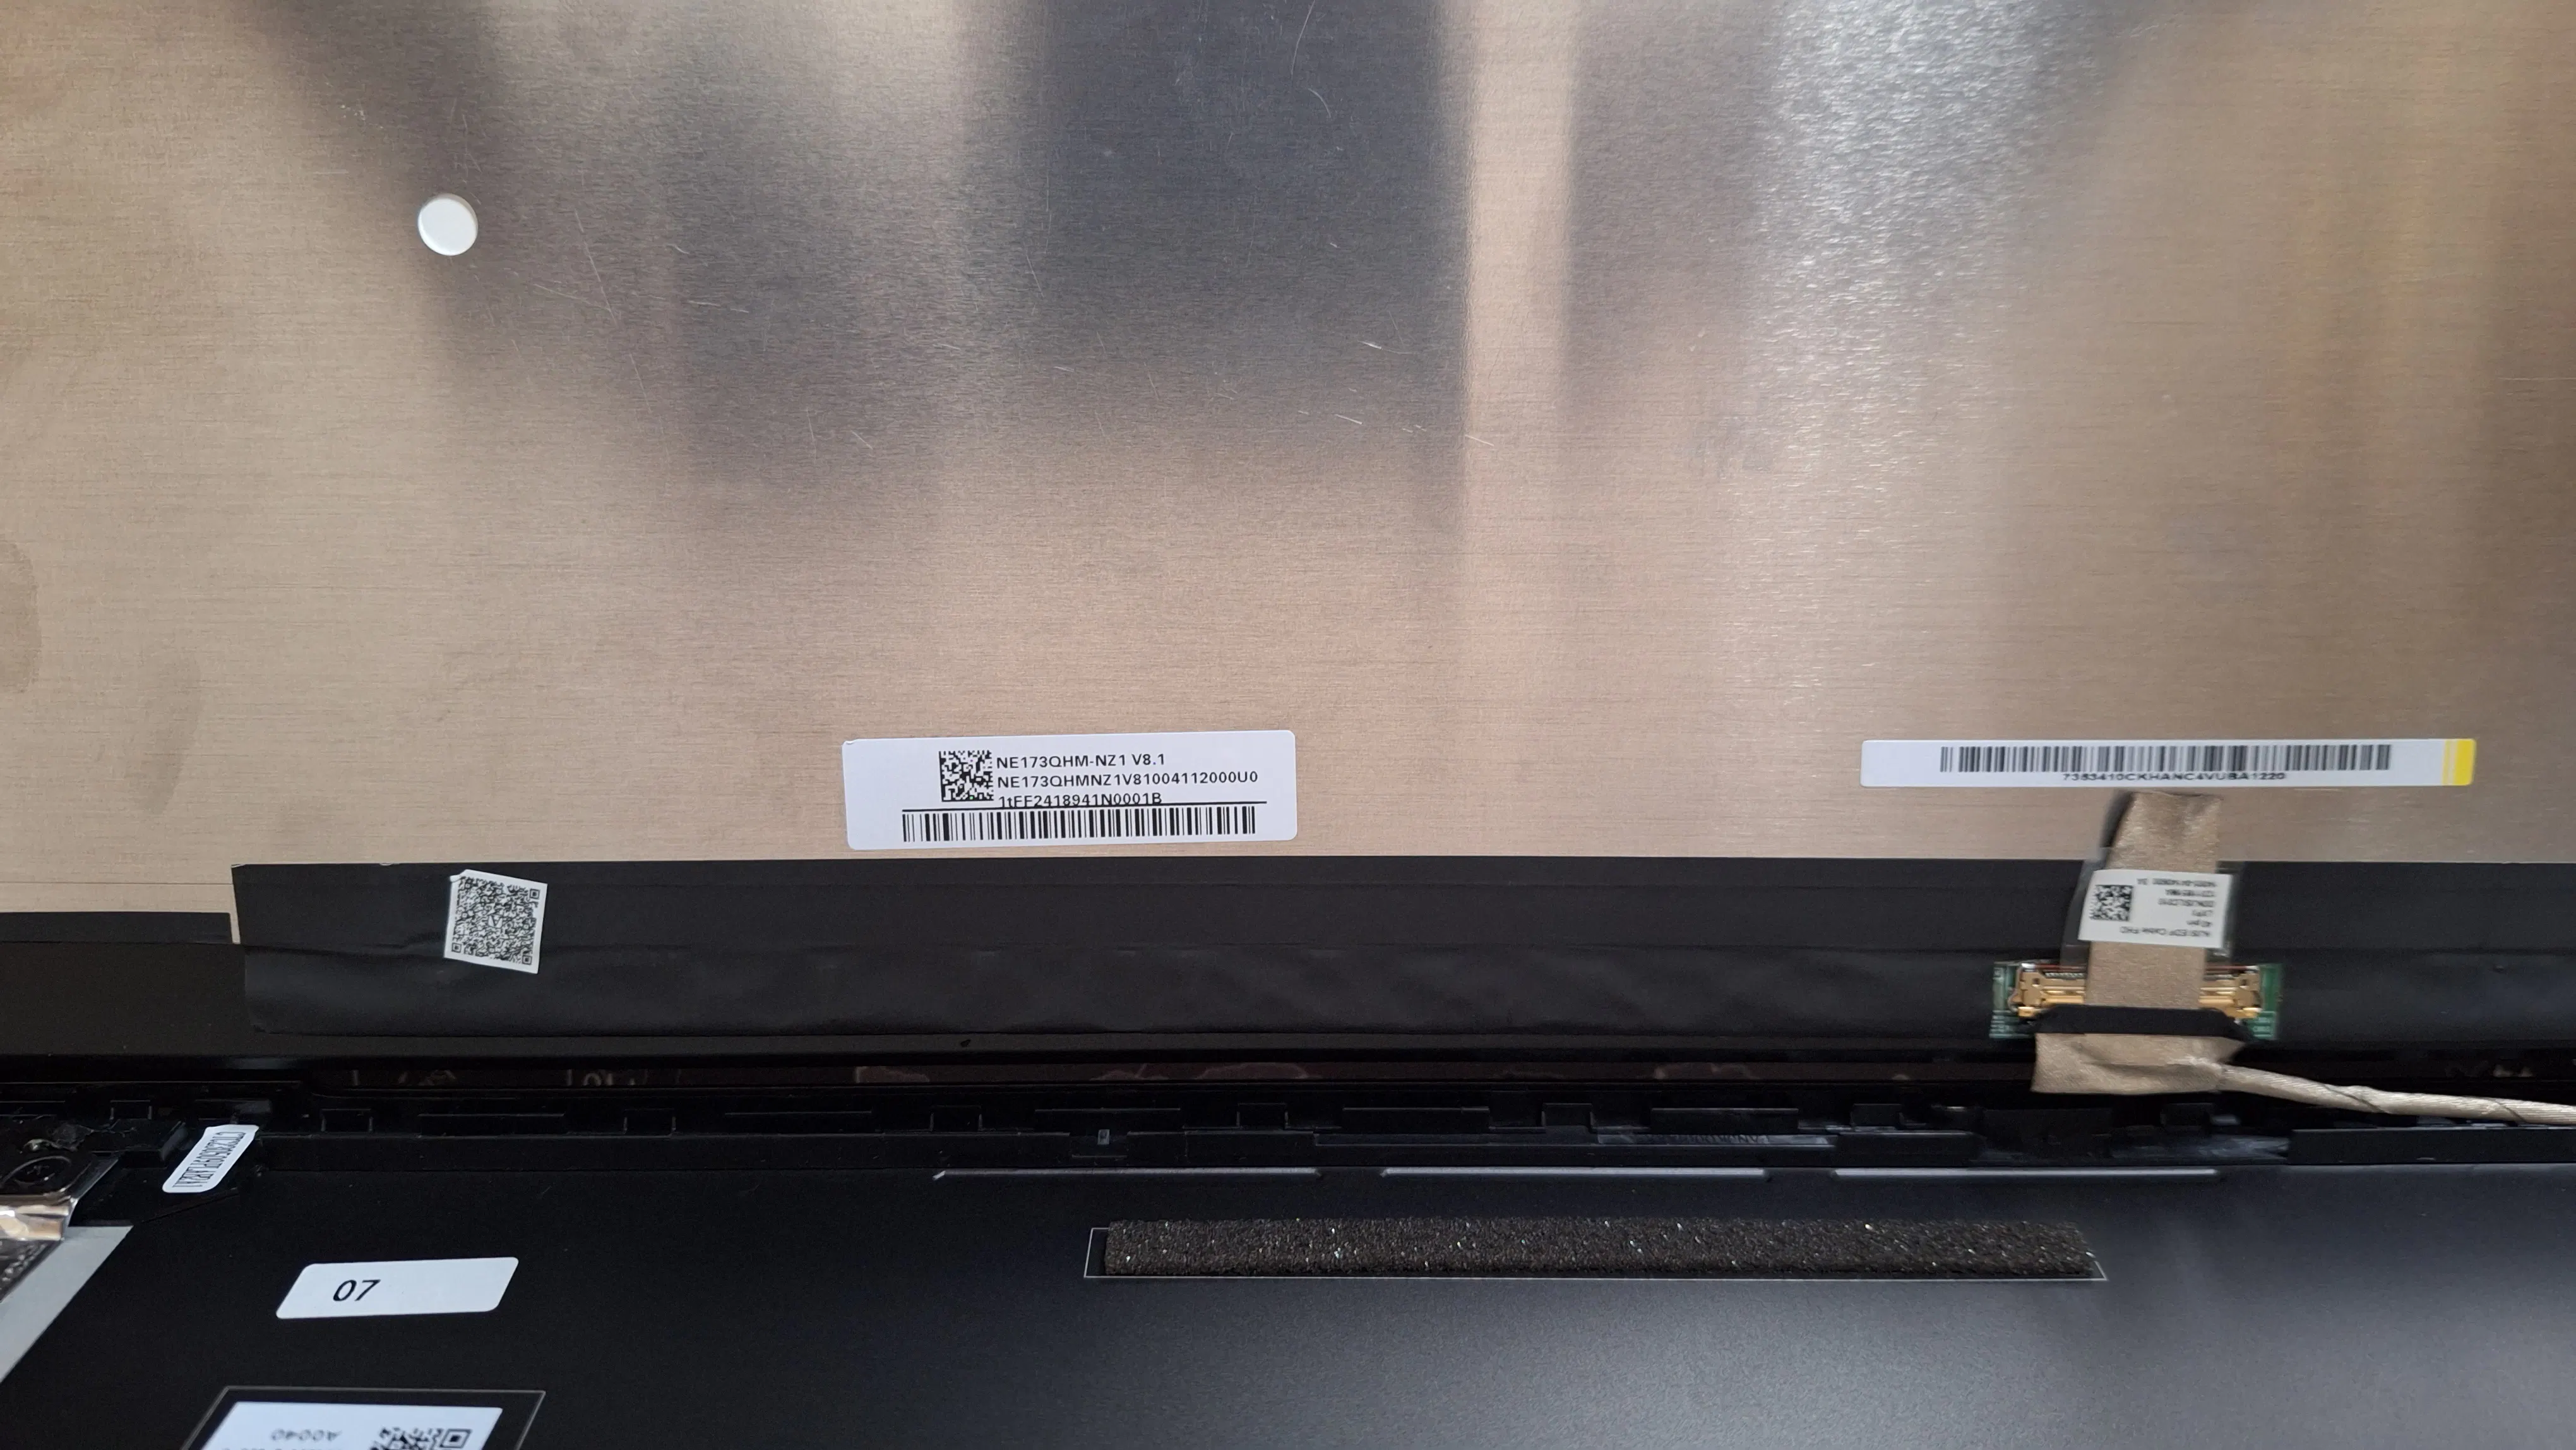
Looking something like this when stuck in place.
The most annoying part is the adhesives, both removing the originals and lining everything up with the new ones.
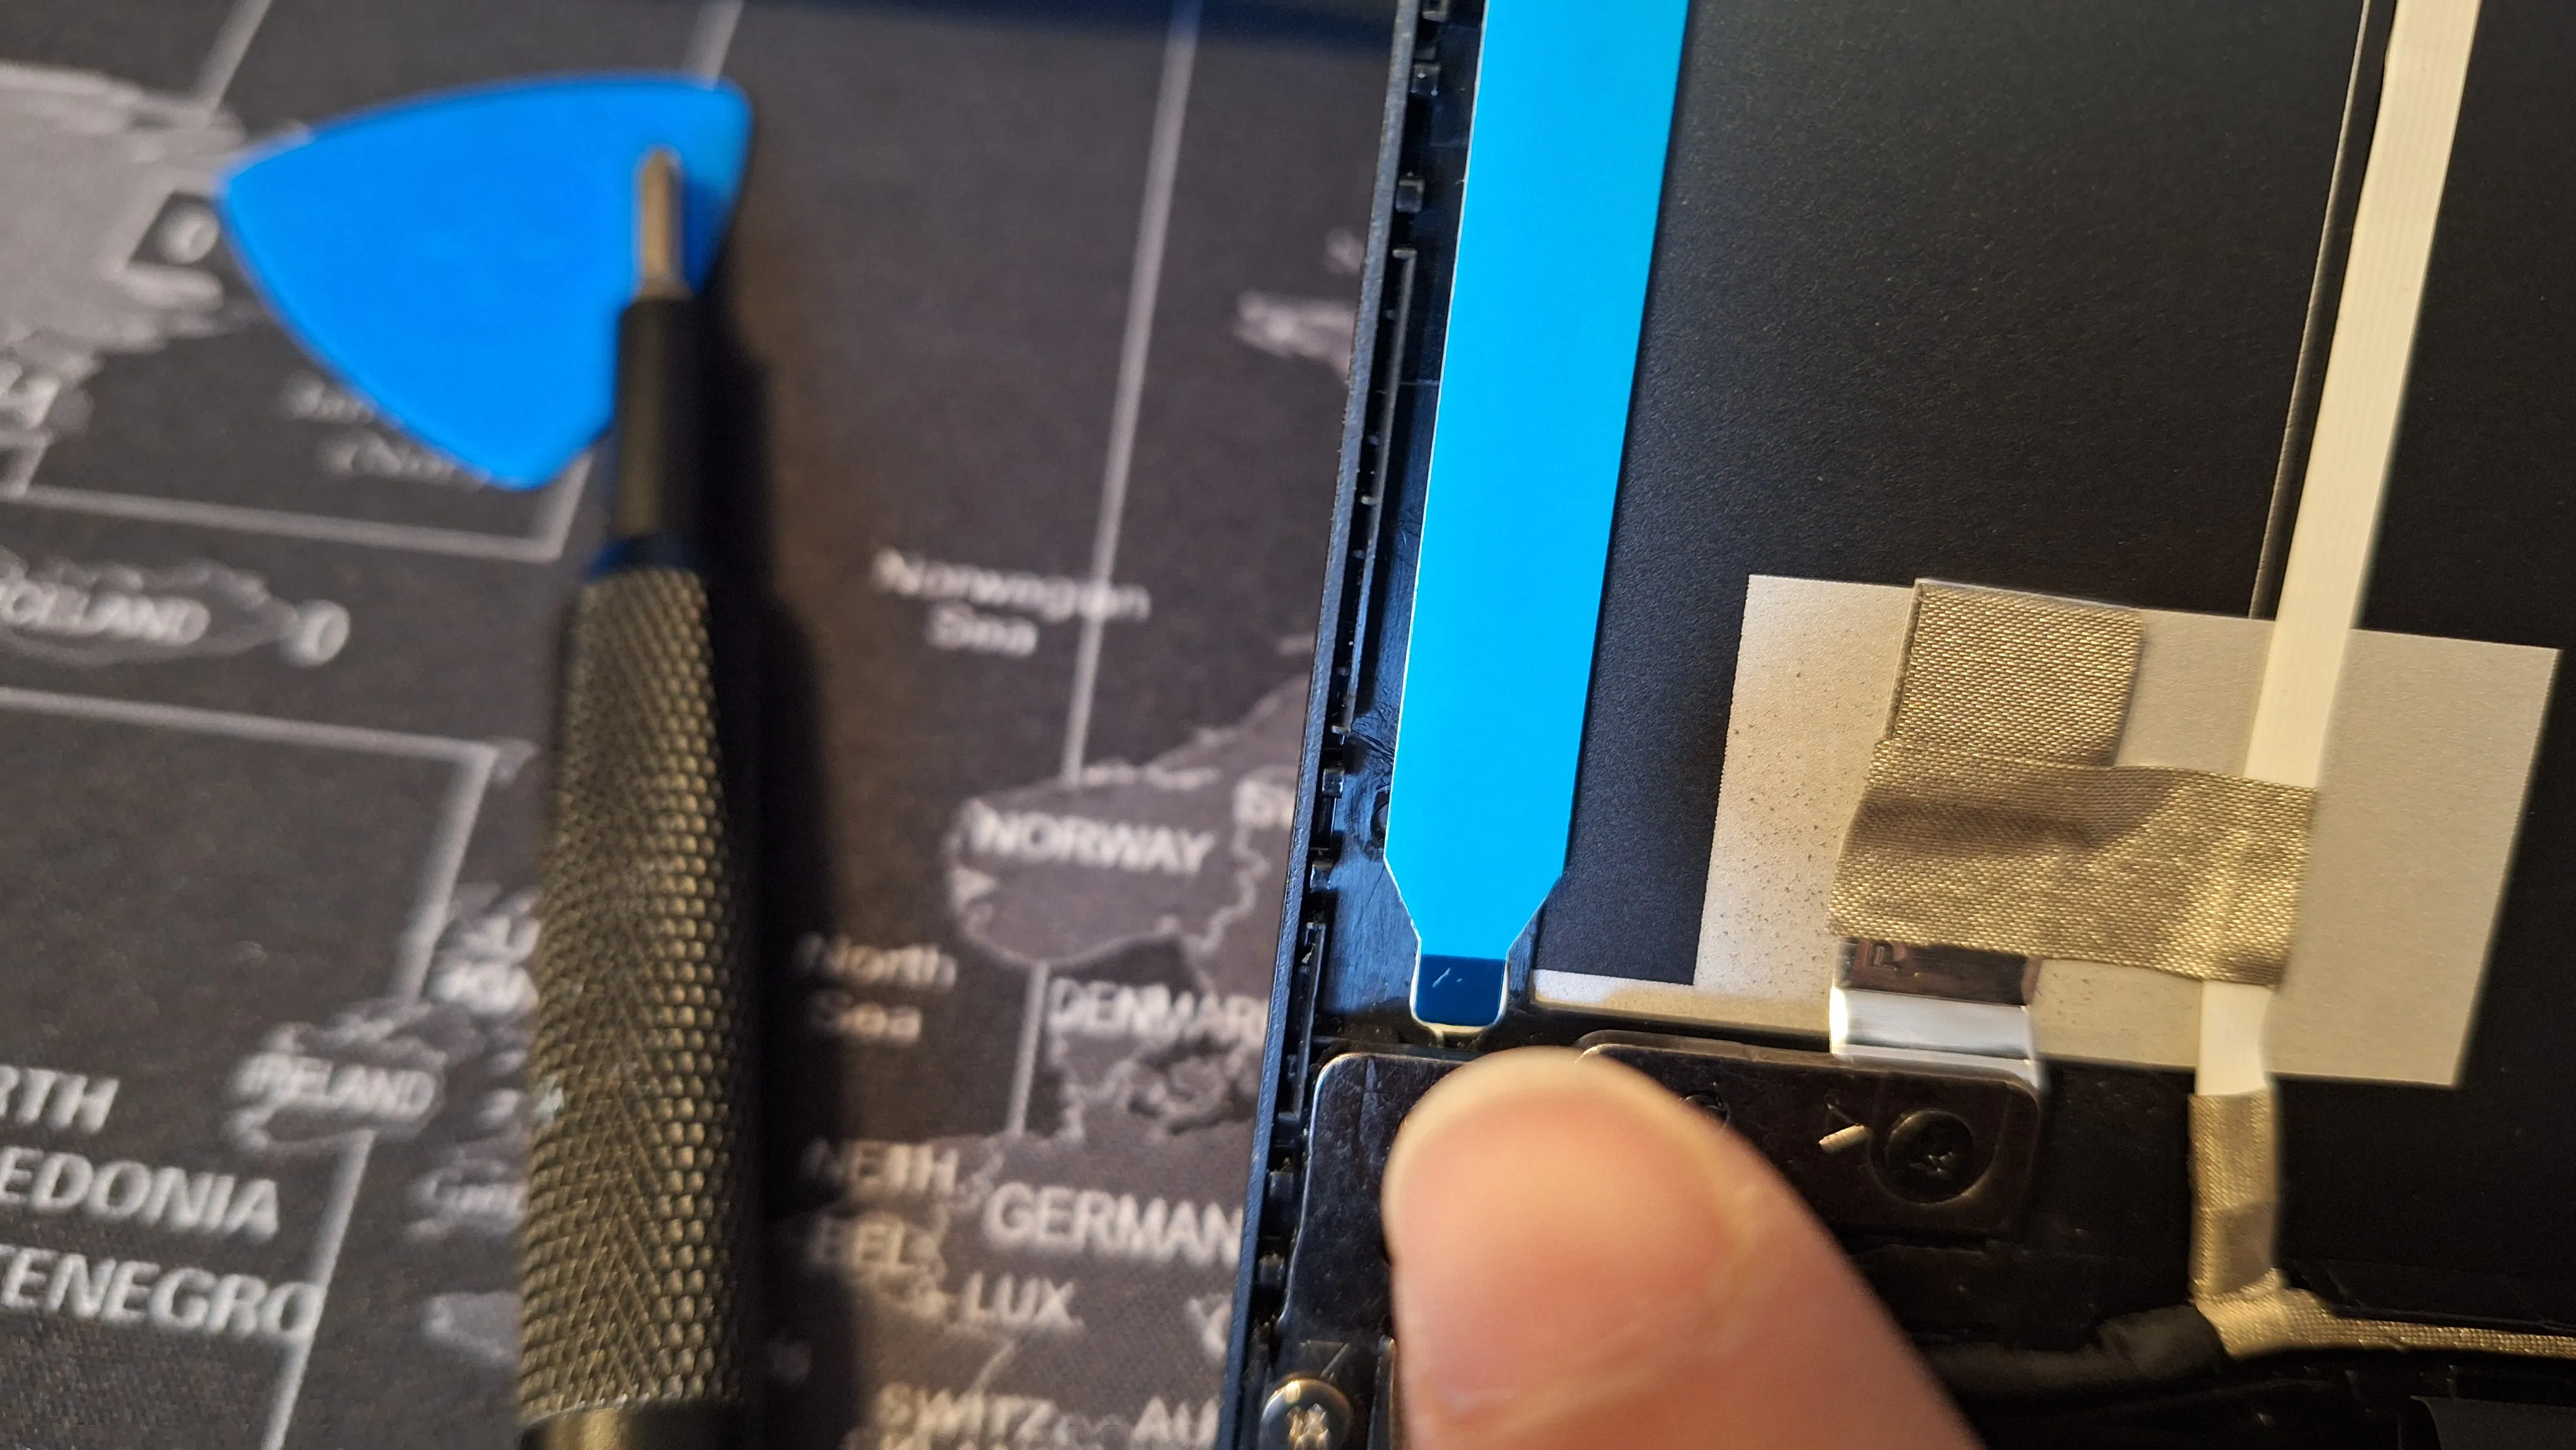
This little tab needs to be accessible so if you ever need to remove the panel, you pull this gently at about 30 degrees and as it stretches it releases the lid and the panel. Though after marker ones have an annoying habit of snapping and requiring isopropyl alcohol and a lot of careful prying... don't ask me how I know.
Line them up where the originals were
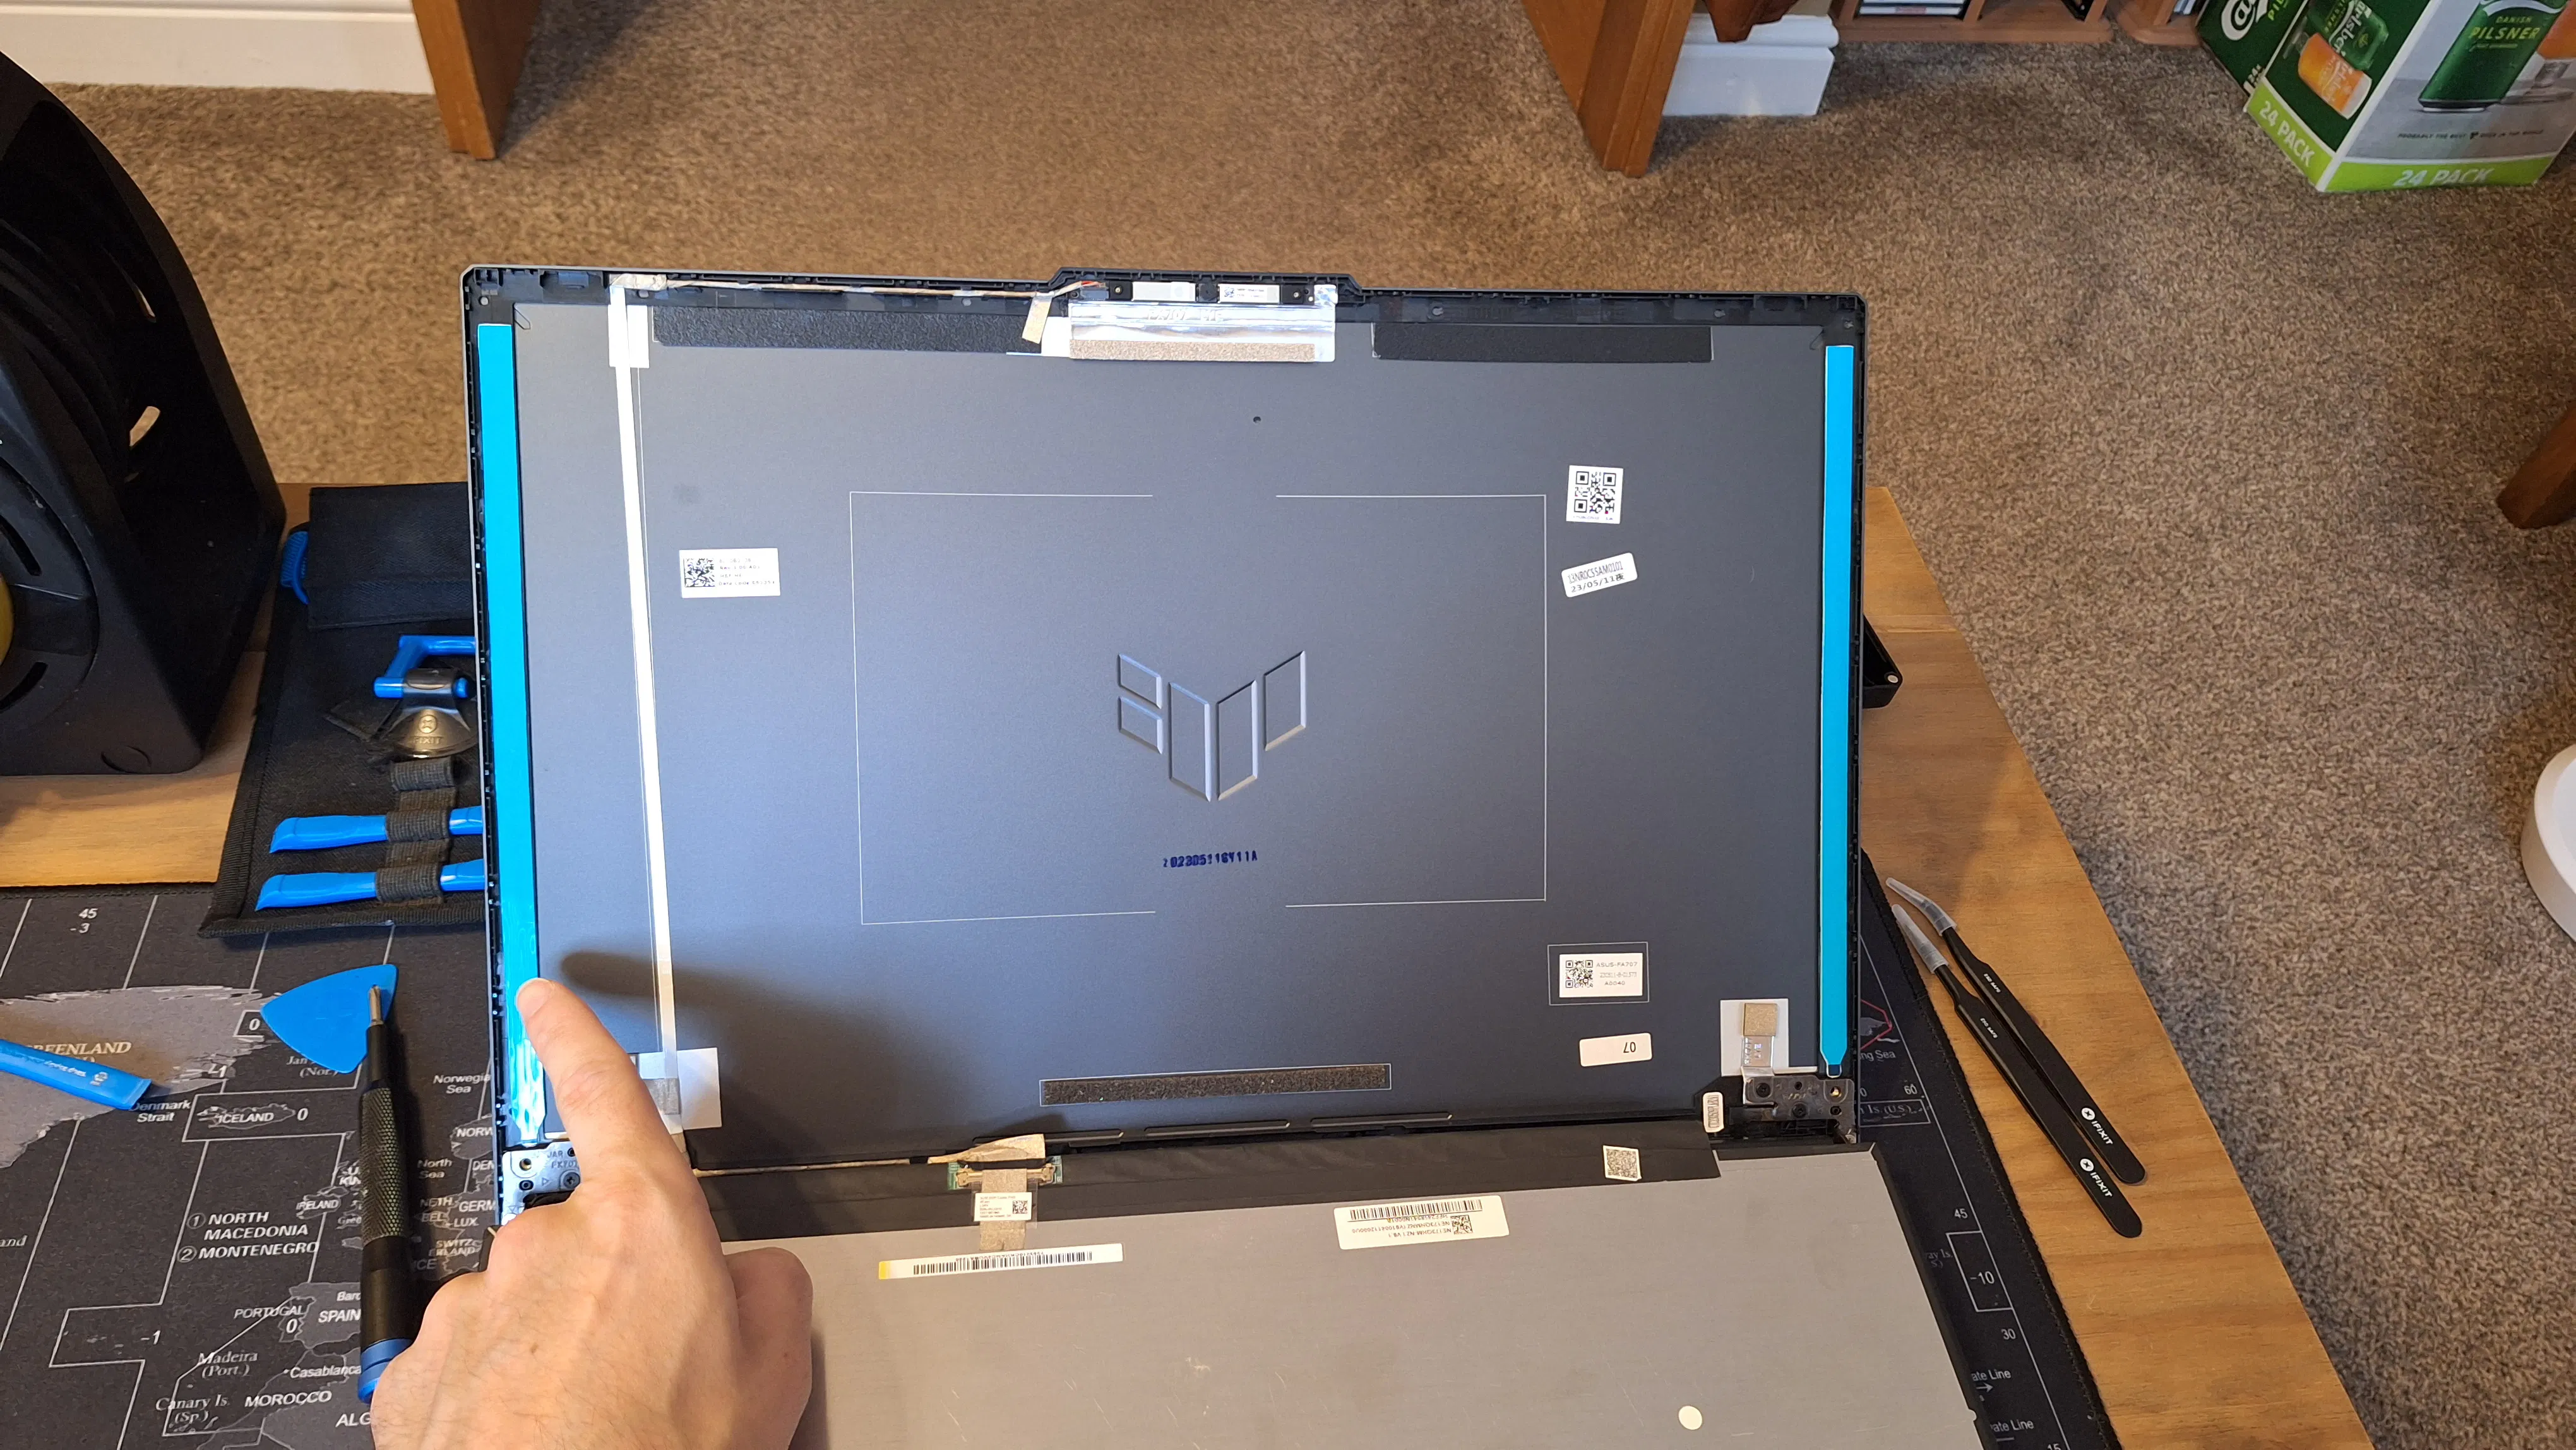
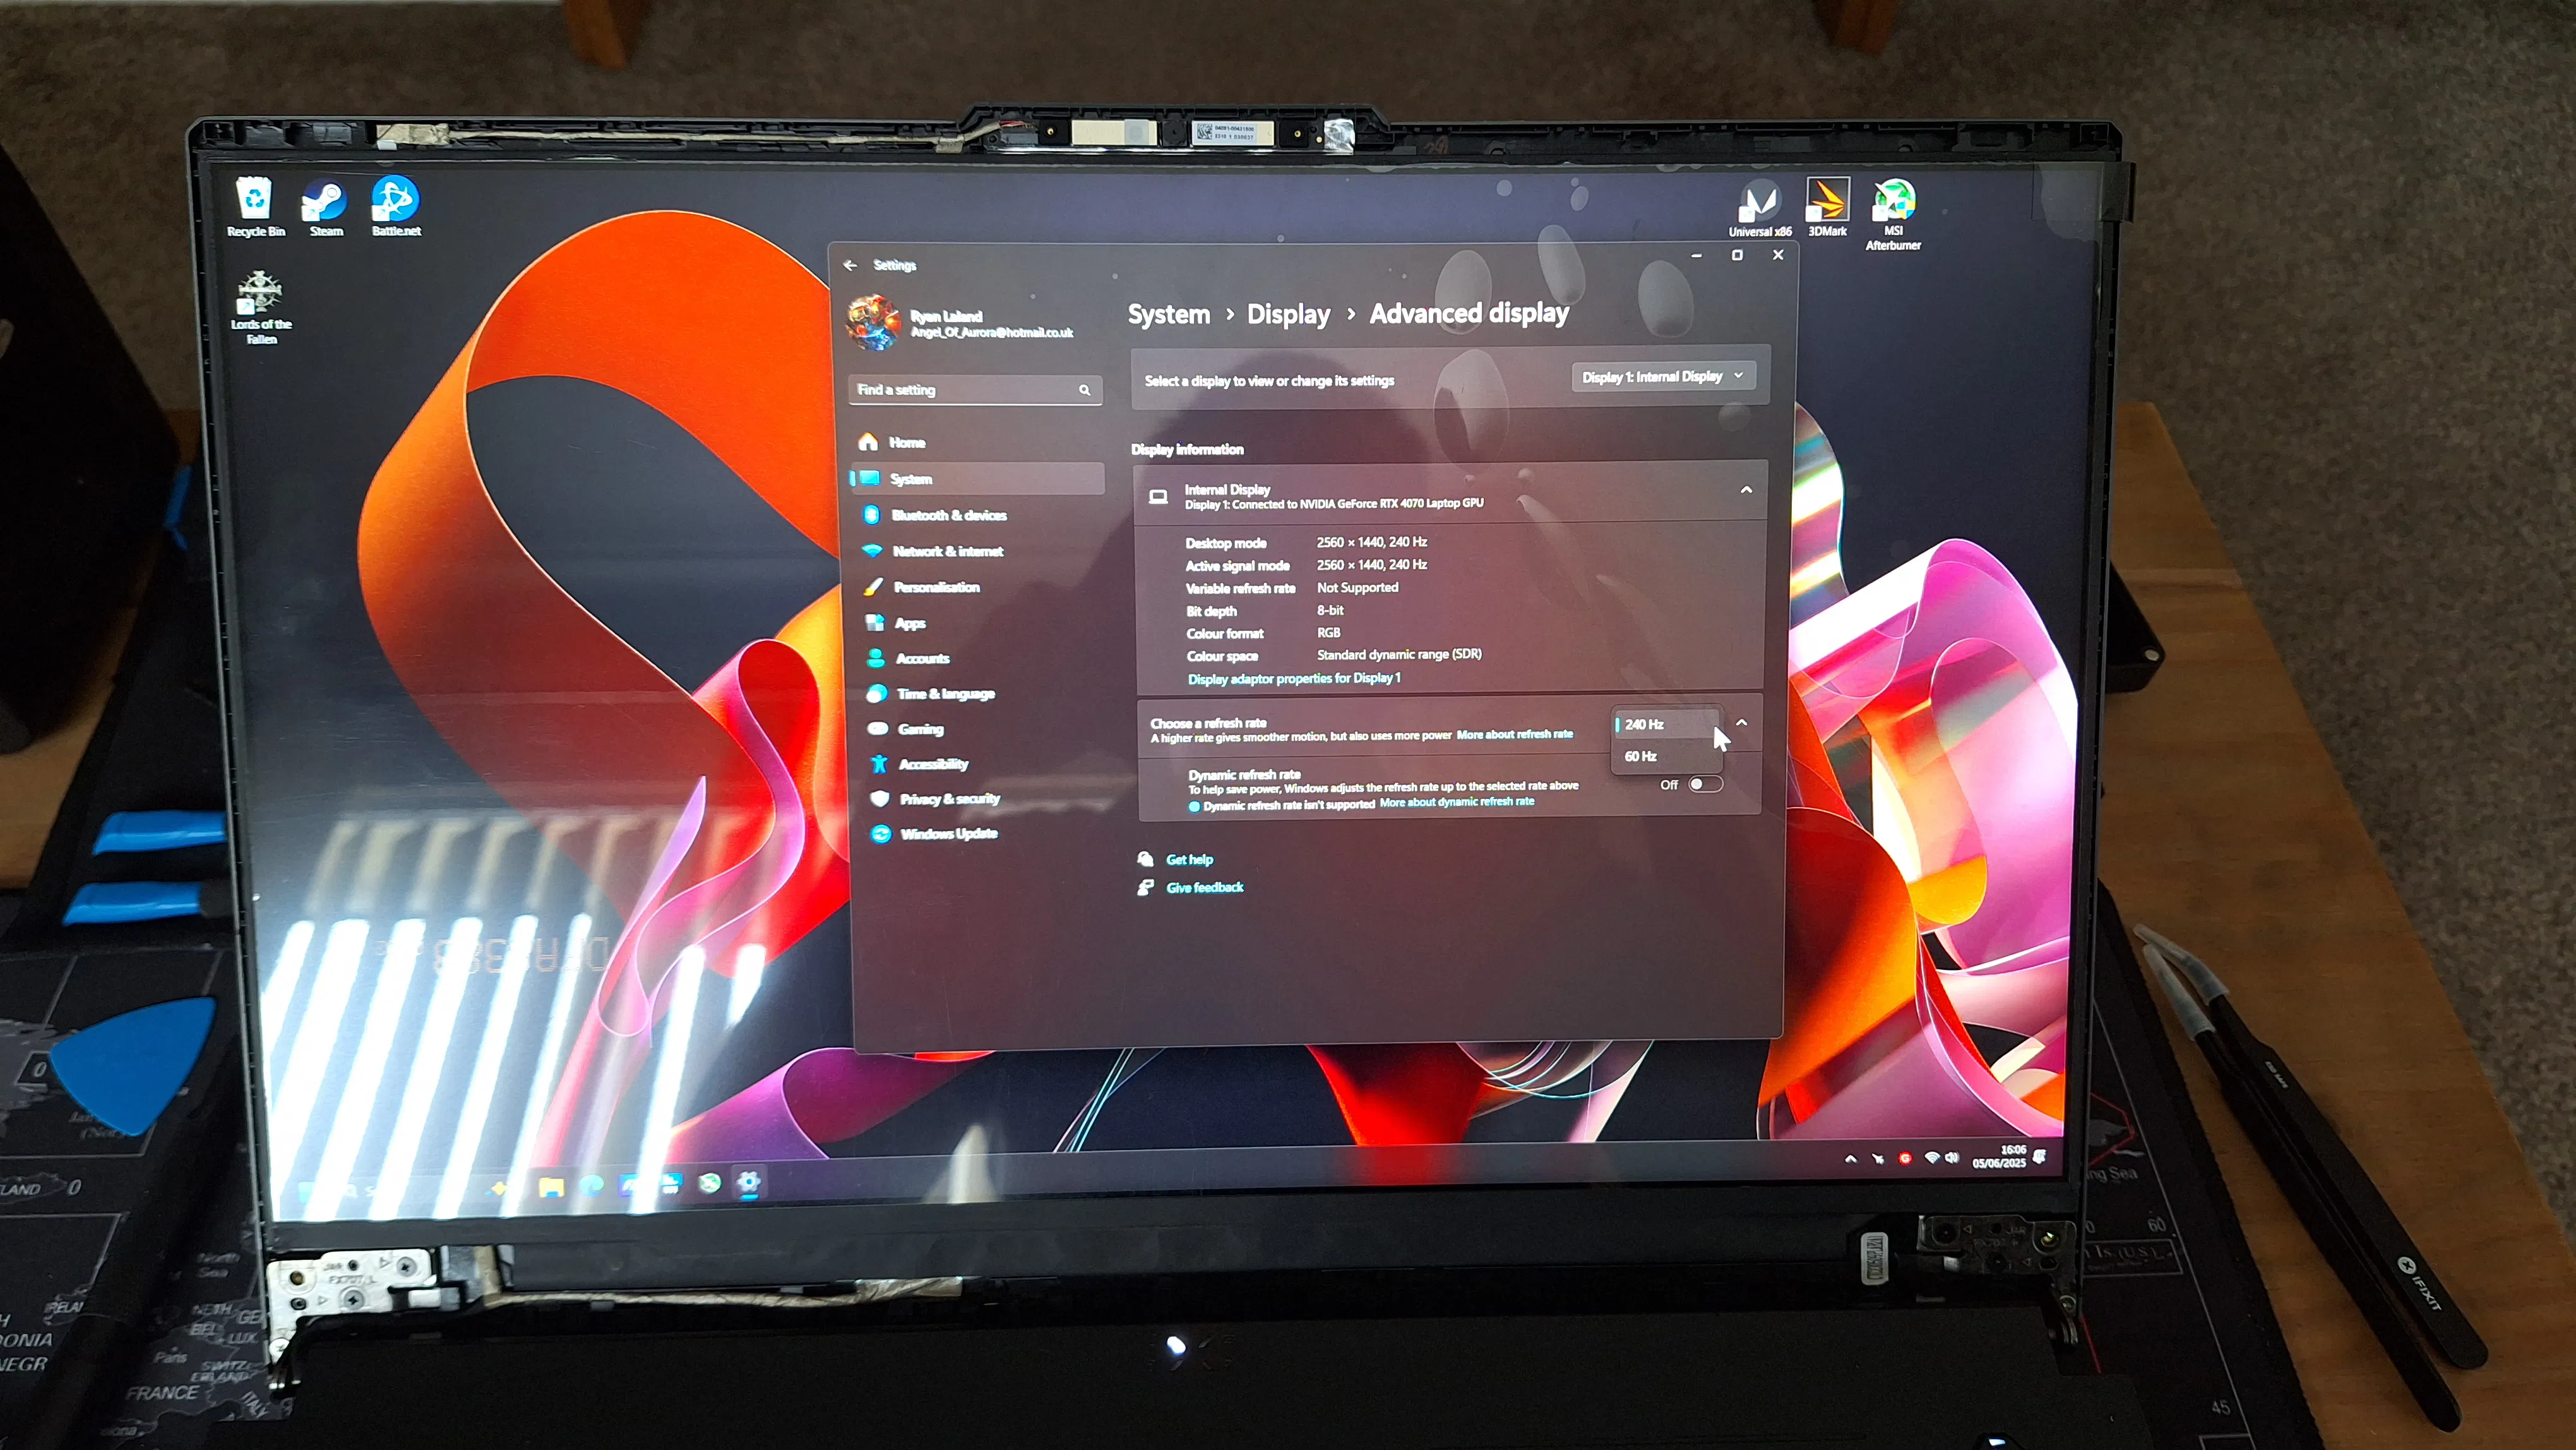
Before removing the adhesive covers always see where your panel needs to sit. I mean before you removed the old one you should have paid attention, normally it's as close to the top as you can seat it. You have one shot at seating the screen, those stickies mean business. Final test, is to do a dry mount of the screen, hook up the power and see if your laptop acknowledges the new one, also it will show any dead pixels or a dead panel since you can power off and test the original again to make sure you didn't murder your machine.
Once you know all is good, stick the panel in place, reattach or replace your bezel and boom. Screen is upgraded.
This panel went from a Asus TUF Gaming A17 FA707XI laptop review: 140 W GeForce RTX 4070 for $1400 - NotebookCheck.net Reviews you can check the panel details in that review, as you will see it is terrible. To a BOE NE173QHM-NZ1 Overview - Panelook.com
Though it does come with some caveats due to OEM and Nvidia being scummy but that is a post all on it's own.
Now I have a beautiful 240hz 99% DCI-P3 panel with overdrive ;)